

What is Identityfinder?
Identifyfinder software scans for Personally Identifiable Information (PII) on SIUE computing resources. It will search for Social Security Numbers, financial account records, and card numbers in your email and files on your device.
The Information Technology Services department will install the software to your computer and periodically initiate scans. Reports of potential PII found on your university device will be emailed and require your attention to mitigate the results.
Follow these directions in order to properly dispose of PII according to SIUE policy for the usage of Identityfinder. Please read all of the directions and important tips prior to the remediation of results of a scan.
How To Use Identity Finder:
Initiating a Search
- Click on Identity Finder icon to start the program:
![]()
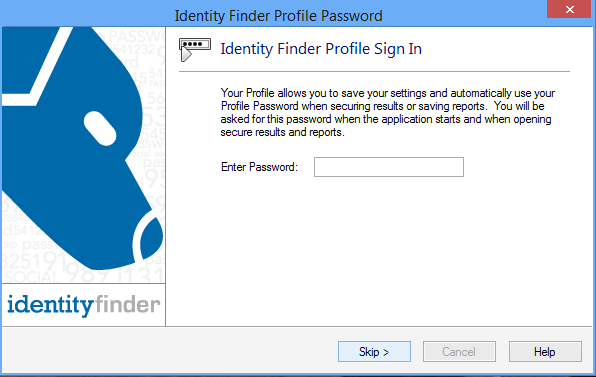
- Create or enter password. Make password very easy to remember, this will not change like your e-ID password and there is no way to reset it:
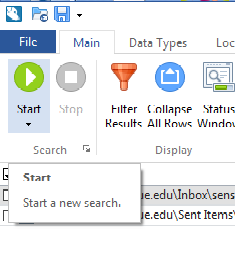
- Start the scan by clicking on the green start button. There is no need to configure search options as the options are pre-set to match SIUE and/or ITS policies for data retention:
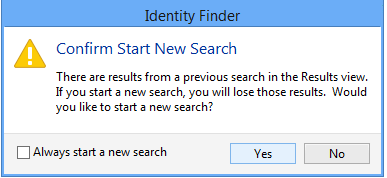
- Confirm you want to start the search:
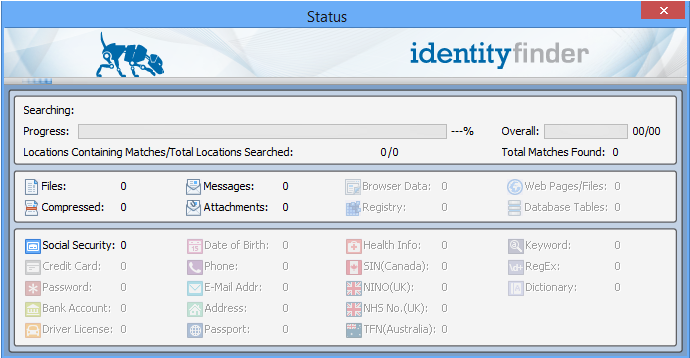
- Search begins. At this point you can go back to doing something else while the search runs:
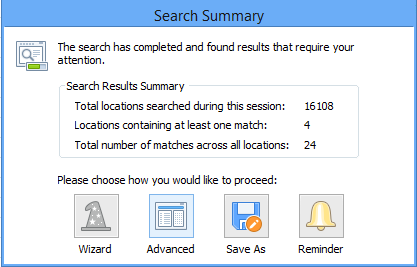
- When the search is complete the below dialog box will appear. Your options are to set a reminder to begin remediation later, save the results, or the advanced option which is nothing more than manual remediation. This is the recommended option to use unless you need to come back and remediate the results later. Then setting a reminder is recommended:
Remediation
- Remediation begins with the results window. Here you can see the locations of the files with personally identifiable information as well as an indication of the exact source of the match. From here you can choose to browse to the file and remediate it yourself or you can use Identity Finder’s tools to remediate the file. A word of caution; if you use Identity Finder to remediate the files you run the risk of either permanently destroying them or if you encrypt them and lose the password losing access to the file. ITS will not be able decrypt any files encrypted by Identity Finder:
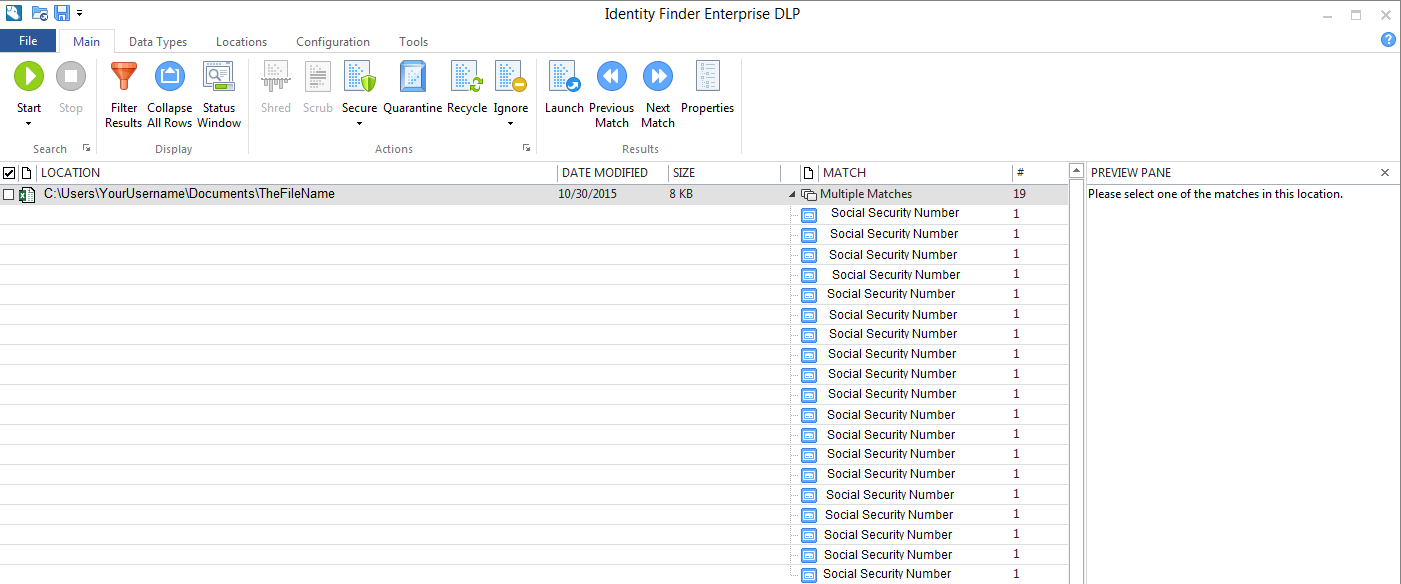
- To begin identifying if results are actual social security numbers or false positives you can click on a result and it will display the match and a portion of the data surrounding it in the preview pane. If you can’t determine if a match is a false positive from the preview pane, you will have to open the file. To do this simply right click on the match or the file listed in location and select “launch.”:
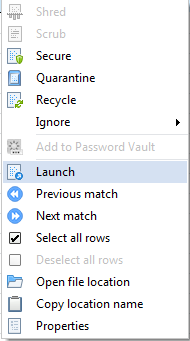
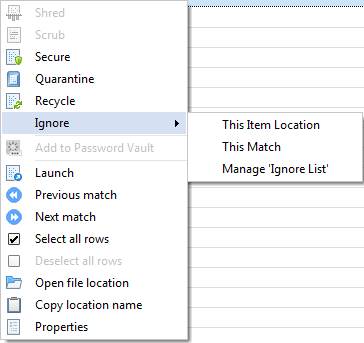
- If you have determined a match is a false positive you can train identity finder to ignore the result or the file location, if the entire folder where the file is stored does not contain personally identifiable information. To do this right click on the result, click on ignore, and select either “This Match” or This Item Location.”:
- If however you determine you actually have social security numbers stored on your hard drive you can begin by asking yourself these two questions about the file.
-
- Is there a legitimate business need to retain these Social Security Numbers?
- If there isn’t you can either edit the SSNs out of the document, or if there is no reason to retain the document simply delete it.
- If there is a business need to retain the Social Security Numbers, proceed to question 2
- Can this file be stored somewhere other than on the PC?
- If the file is yours (such as income tax forms) you should remove the file from your University computer and take it home.
- If the file is University property it should be stored on one of the Active Directory drives, either your personal (usually labeled as the H: drive) or the Department shared drive (usually labeled as the K: drive).
- If you need to store the file on your PC contact ITS and we will discuss remediation options that comply with policy.
- Is there a legitimate business need to retain these Social Security Numbers?
- Proceed to the next result/file until all matches have been identified and remediated or tagged as a false positive.
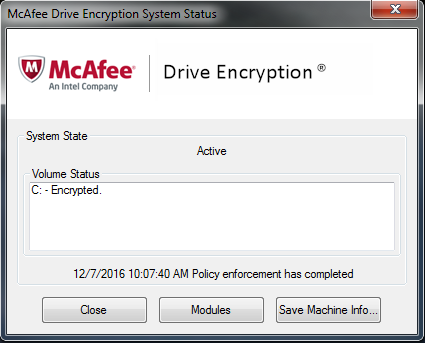
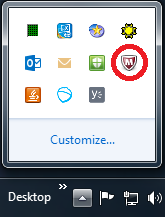
*This step is not necessary if your hard drive is already encrypted with McAfee drive encryption. To determine this click on show hidden icons on the task bar
- Right click the McAfee icon:
- Mouse up to quick settings and click on “Show Drive Encryption Status”:
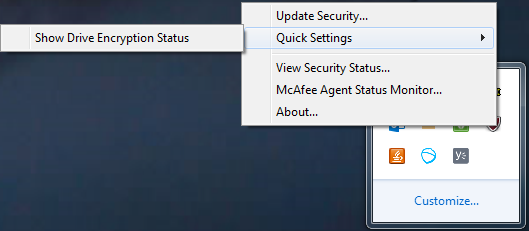
-
If you see “Encrypted” in the Volume Status window your hard drive is encrypted.